


Lets start adding a few basic pages to your new WordPress site!
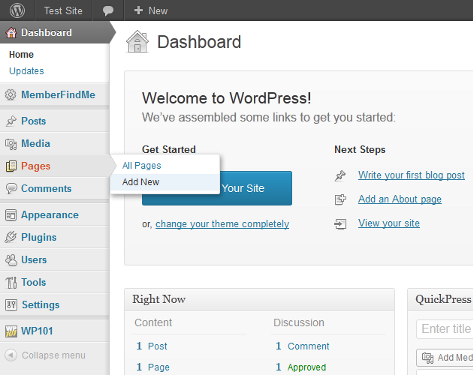
- The main navigation for WordPress is found on the left side of the screen. Start by hovering over Pages, the click on Add New:
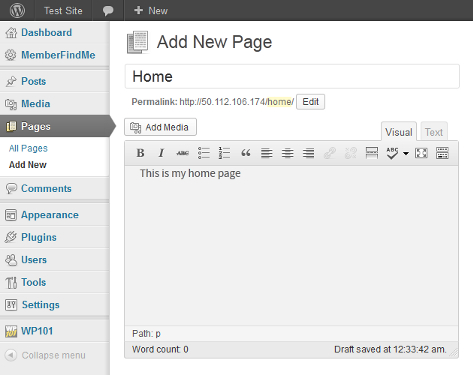
- Lets create your home page! Type in “Home” for the title, and then appropriate text in the content editor. Don’t worry about getting the content exactly right, or any images or videos (that will be covered by WP101 videos later), you will be able to come back and change this page later. Now click the Publish button on the right side:
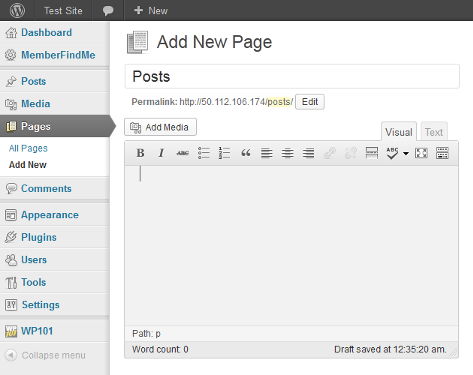
- Lets setup a page for your posts (blogs, press releases, etc). This page is used as a placeholder for WordPress to determine how your list of posts is displayed, it does not have content by itself so we are not going to be entering any text in the content editor. The WP101 videos will show you how to create blogs and other posts later. Click on Add New in the main WordPress menu under Pages. Type in “Posts” for the title, leave the content editor empty, and click Publish:
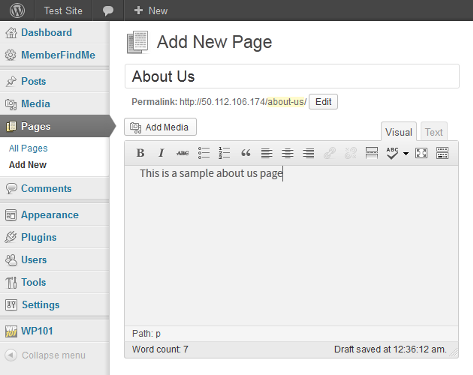
- Next lets create an About Us page. Click Add New under Pages, type in “About Us” for the title, and appropriate text in the content editor, then click Publish:
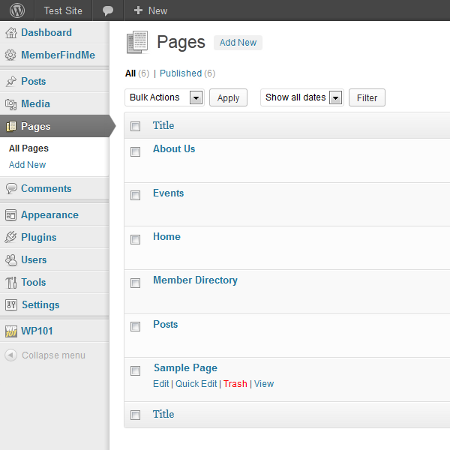
- Click All Pages under Pages, and you will see the pages you have created. Notice the “Sample Page”? That’s a sample page installed by WordPress, lets go ahead and delete that now by hovering over the “Sample Page” section, then clicking on Trash:
Setup Your Theme Pages
Now lets setup the theme to use the new Home and Posts pages we created.
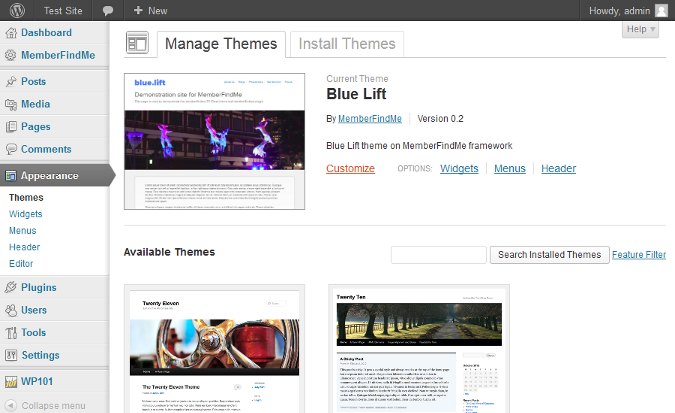
- From the main menu, hover over Appearance, then click on Themes. Click on Customize under the Blue Lift theme, which is our current theme:
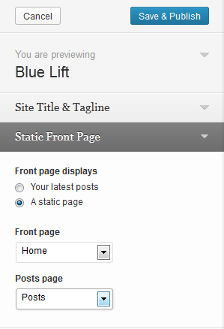
- Click on Static Front Page, then set “Front page displays” to “A static page”. Then select “Home” for Front page, and “Posts” for the Posts page:
Add a Footer Widget
Now lets add a widget to display your organization information at the bottom of every page.
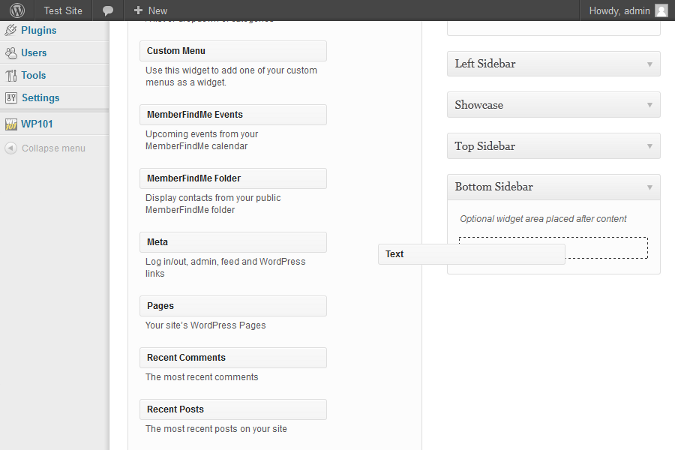
- Hover over Appearance on the main menu, then click on Widgets. Your will see a list of Available Widgets in the center, and a couple of Sidebars on the right. Click on Bottom Sidebar to expand that sidebar. Then click on the Text widget, without releasing your mouse button, drag the Text widget over to the Bottom Sidebar area, then release your mouse button to drop the widget into the sidebar:
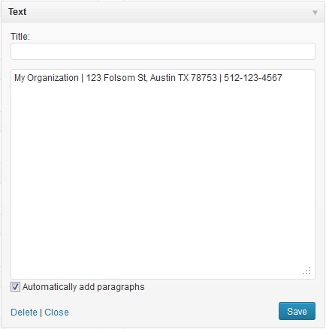
- Leave the title blank and type in what you want to appear in the footer of every page in the content editor. Check the “Automatically add paragraphs” box, then click Save:
Review Your Site
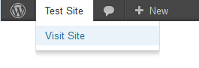
Lets see what we’ve created! Hover over your site title in the gray menu bar right at the top, then click on Visit Site:
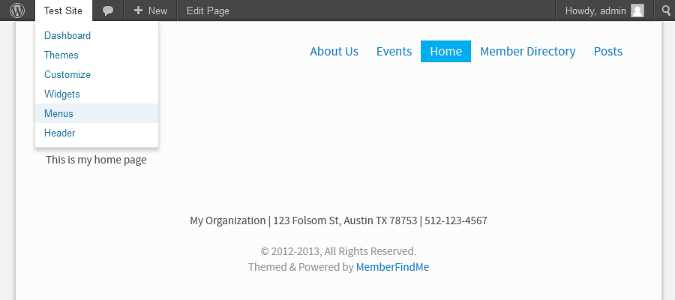
This is how your site would appear right now to anyone visiting your site; the gray WordPress menu bar at the top will only be visible to you, if you are logged in; it will not be visible to your web visitors. Check out all your pages from the site menu on the top right corner. Your member directory would be empty at this time, since you have not added any members. Your events page should display a calendar (without any events). Your posts page will show a “Hello World!” post that is a sample post created by WordPress (you can delete that later). Finally you will notice that your organization information is found in the footer of every page.
Organize Your Main Menu
- Now lets organize and re-arrange our main menu. Hover over the site title in the top gray menu bar, then click on Menus:
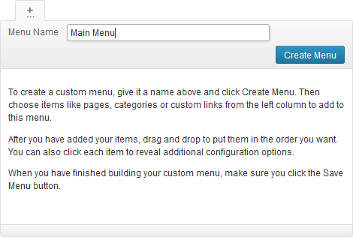
- First, we need to create a menu. On the right side, you will see a box for creating a new menu. Type in “Main Menu”, then click Create Menu:
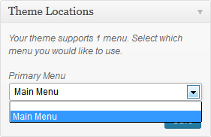
- Once the menu is created, you will find a box titled Theme Locations in the middle. Set the Primary Menu to the “Main Menu” we just created, then click Save:
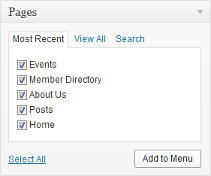
- Down the page a little, there is a box titled Pages. You will see all the pages we had created earlier. Check all of them, and click Add to Menu:
- You will now see all those pages appear in the “Main Menu” box. You can now arrange the order of the menu items by clicking, dragging and then dropping the boxes:
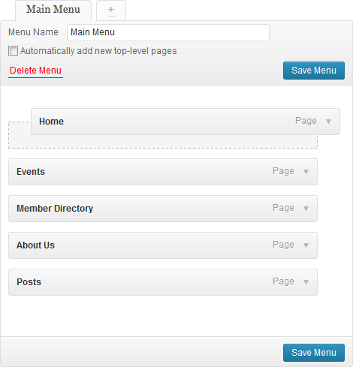
- You can nest the menu items, to create a drop down menu. Lets try it by clicking and dragging the “Posts” box below the “About Us” box, and shifting to the right until you see that the dotted guide box appears offset to the right, then release your mouse button to drop the “About Us” box in place:

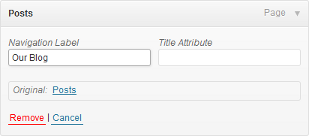
- You can also rename the menu items differently from the page titles. Click on the little arrow on the right side of the “Posts” box, then type in a different Navigation Label:
- Click on Save Menu to save all the changes you have made to the menu.
When you create a new page, you will have to go to this menu screen to add the page to the menu. Creating a custom menu gives you the ability to organize and label it as you need! You can create sub-sub-menus, multiple menu items with different labels that link to the same page, menu items that link to external sites and menu items that link to different categories of your posts (for example, blogs vs. press releases).
Comments are closed.